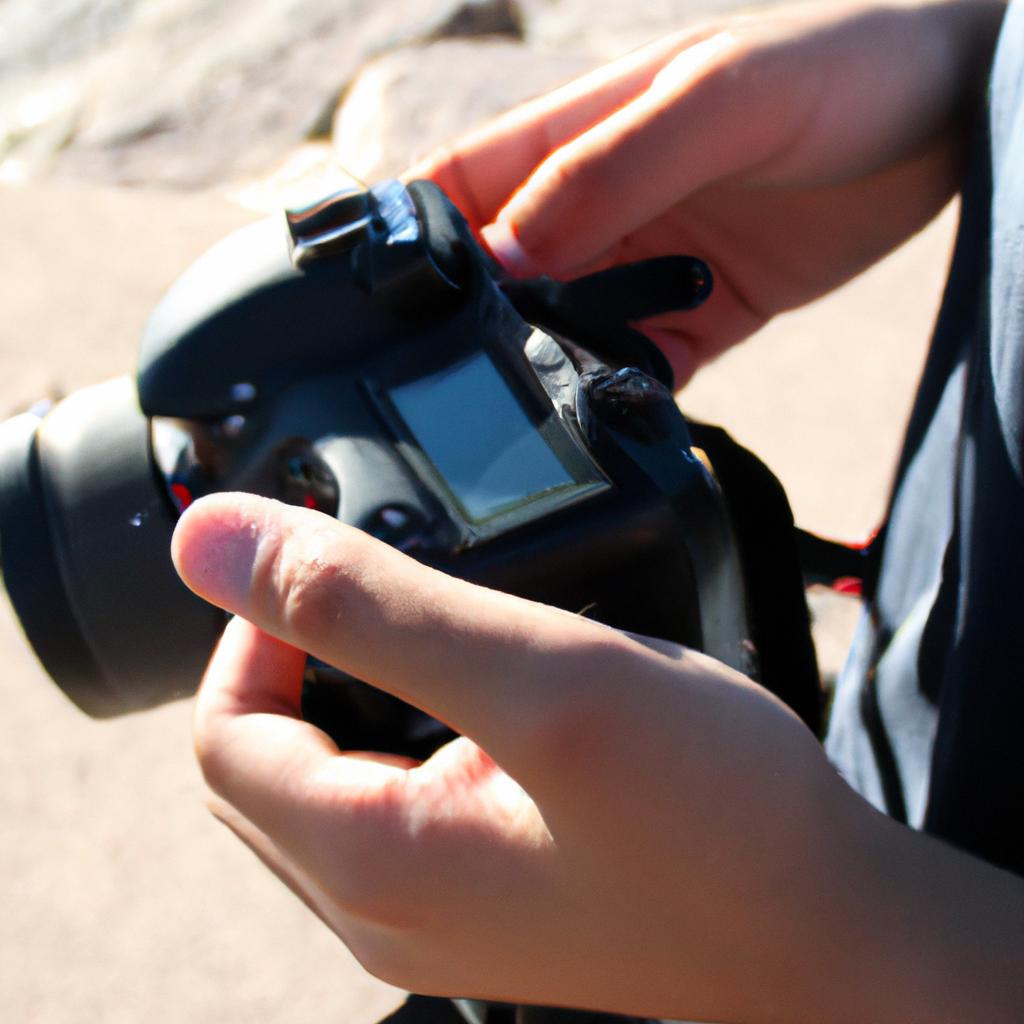
Exposure settings in photography play a crucial role in capturing images that accurately represent the intended subject matter. Understanding and effectively utilizing exposure settings can be challenging for both novice and experienced photographers alike. In this article, we aim to demystify the concept of exposure settings by providing a comprehensive overview of their significance and functionality.
Consider the case of Jane, an aspiring photographer who recently embarked on her journey into landscape photography. She often found herself frustrated with her inability to consistently capture well-exposed images, resulting in disappointing outcomes. Like many beginners, Jane struggled to comprehend the intricate relationship between aperture, shutter speed, and ISO – the three fundamental components comprising exposure settings. Consequently, she was unable to manipulate these variables effectively to achieve desired results. This scenario highlights the importance of gaining a thorough understanding of exposure settings as it directly impacts one’s ability to control lighting conditions and ultimately produce visually captivating photographs.
By delving into various aspects such as aperture, shutter speed, ISO sensitivity, metering modes, and exposure compensation techniques, this article aims to provide readers with valuable insights into mastering exposure settings in photography. Through our exploration of these topics using an academic writing style devoid of personal pronouns, we will equip photographers at all levels with practical knowledge necessary for achieving optimal exposures and capturing stunning images.
Aperture, the first component of exposure settings, refers to the opening in the lens that controls the amount of light entering the camera. It is measured in f-stops and affects both the depth of field and the overall brightness of an image. Understanding how to manipulate aperture allows photographers to control which parts of their subject are in focus and create a sense of depth or blur.
Shutter speed, on the other hand, determines the length of time that the camera’s sensor is exposed to light. It is measured in fractions of a second and directly influences motion blur. Fast shutter speeds freeze action, while slow shutter speeds can create intentional blurring effects. By controlling shutter speed, photographers can capture fast-moving subjects with crispness or convey a sense of motion and dynamism.
ISO sensitivity refers to a camera’s sensor’s ability to capture light. Increasing ISO sensitivity allows for better performance in low-light conditions but introduces digital noise into images. Photographers must strike a balance between high ISO values for brighter exposures and lower ISO values for cleaner images.
Metering modes assist photographers in determining how their cameras measure light in a scene. Evaluative metering takes into account various areas within the frame, while spot metering focuses on a specific part of the scene. Understanding metering modes enables photographers to accurately expose for different lighting situations.
Exposure compensation techniques allow photographers to override automatic exposure settings by adjusting them up or down based on their creative intent. This technique proves useful when faced with challenging lighting conditions or when aiming for deliberate overexposure or underexposure effects.
In conclusion, understanding exposure settings is vital for photographers seeking consistent results and creative control over their images. By comprehending the relationships between aperture, shutter speed, ISO sensitivity, metering modes, and exposure compensation techniques, photographers can confidently manipulate these variables to achieve desired exposures and capture visually captivating photographs.
Understanding exposure settings
Understanding exposure settings is crucial for any photographer looking to capture stunning and well-exposed images. By manipulating these settings, photographers have the ability to control how much light enters their camera sensor, resulting in a properly exposed photograph. To illustrate this concept, let’s consider a scenario where a photographer wants to capture an image of a fast-moving sports car at dusk.
The first key component of exposure settings is shutter speed. In our case study, the photographer would need to choose a faster shutter speed to freeze the motion of the car as it speeds by. A slower shutter speed might result in motion blur, which may not be desired in this particular context. It’s important to note that selecting an appropriate shutter speed depends on various factors such as the speed of the subject and lighting conditions.
Another critical aspect of exposure settings is aperture. Aperture refers to the size of the lens opening through which light passes into the camera. By adjusting the aperture, photographers can control depth of field—the range of sharpness from foreground to background in an image. In our example, using a wider aperture (smaller f-number) could create a shallow depth of field with only the car in focus while blurring out the background elements.
Lastly, there is ISO sensitivity—another essential element in exposure settings. ISO determines how sensitive your camera’s sensor is to light. Higher ISO values are useful when shooting in low-light situations like dusk or indoors without proper lighting equipment. However, increasing ISO too much can introduce digital noise or graininess into your photographs.
To summarize, understanding exposure settings involves considering three main components: shutter speed, aperture, and ISO sensitivity. Here’s a bullet point list highlighting their significance:
-
Shutter Speed:
- Freezes or captures motion
- Influences amount of light entering camera
- Requires adjustment based on subject movement and lighting conditions
-
Aperture:
- Controls depth of field
- Determines the range of sharpness in an image
- Adjusted by changing lens opening size
-
ISO Sensitivity:
- Affects camera sensor’s sensitivity to light
- Higher values for low-light situations
- Potential for increased digital noise or graininess
Understanding this aspect further will enhance your ability to capture visually compelling images.
[Transition sentence] Now let’s move on to understanding aperture: the key to controlling depth of field.
Aperture: The key to controlling depth of field
Exposure Settings: Demystifying Capture Loans in Photography
Understanding exposure settings is crucial for any photographer looking to capture the perfect shot. In the previous section, we delved into the fundamentals of exposure and how it impacts the overall outcome of an image. Now, let’s explore one specific aspect of exposure that plays a vital role in controlling depth of field – aperture.
Aperture refers to the size of the opening in your camera lens through which light enters. It directly affects the amount of light reaching the camera sensor as well as the depth of field in your photographs. Imagine you are capturing a portrait with a shallow depth of field, where only the subject is in sharp focus while the background appears beautifully blurred. By selecting a wide aperture (represented by small f-number like f/1.8), you can achieve this desired effect, separating your subject from its surroundings and creating a visually appealing image.
To further understand aperture and its impact on depth of field, consider these key points:
- Aperture value or f-stop: The lower the f-stop number (e.g., f/2.8), the wider your aperture will be, resulting in shallower depth of field.
- Depth-of-field preview button: Some cameras offer a dedicated button that allows you to see how your chosen aperture setting will affect depth of field before taking a shot.
- Balancing light and depth: Keep in mind that adjusting your aperture also affects exposure levels; therefore, you may need to compensate by changing other settings such as ISO or shutter speed.
- Creative potential: Experimenting with different apertures not only provides control over depth of field but also opens up endless opportunities for artistic expression within your photography.
Now that we have explored aperture and its influence on depth of field, let us shift our attention towards another critical aspect of exposure settings – shutter speed. This setting determines how long your camera’s sensor is exposed to light when capturing an image. Stay tuned to discover how shutter speed plays a crucial role in freezing or showing motion, allowing you to capture the perfect action shot.
Shutter speed: Capturing motion
Exposure Settings: Demystifying Capture Loans in Photography
Aperture is a crucial component of exposure settings, allowing photographers to control the depth of field. By adjusting the aperture size, one can either increase or decrease the amount of light that enters the camera’s lens, consequently affecting how much of the image appears sharp and in focus. For example, imagine capturing a portrait with a wide-open aperture (small f-number) like f/1.8. In this case, the subject’s face would be sharply focused while the background gently blurs into an aesthetically pleasing bokeh effect.
Understanding how to effectively utilize aperture requires knowledge of its impact on depth of field. A shallow depth of field results from using a wider aperture, meaning only a small portion of the image will be in focus while the rest gradually softens into blur. This technique is commonly used by portrait photographers to isolate their subjects from distracting backgrounds and draw attention directly to them. On the other hand, landscape photography often benefits from having a deep depth of field achieved through narrower apertures such as f/11 or higher, ensuring both foreground and background elements are crisp and detailed.
- Wide apertures (e.g., f/1.4 – f/2.8) create shallow depths of field for artistic emphasis.
- Narrow apertures (e.g., f/8 – f/22) produce greater depths of field for comprehensive scene clarity.
- Aperture priority mode allows photographers to manually set desired apertures while leaving other exposure variables up to automatic adjustments.
- Balancing shutter speed with aperture ensures proper exposure even when lighting conditions change.
Additionally, let us present a table outlining different scenarios where varying apertures may be employed:
| Aperture Setting | Depth Of Field | Recommended Usage |
|---|---|---|
| Wide (e.g., f/1.8) | Shallow | Portraits, close-ups |
| Moderate (e.g., f/5.6) | Moderately shallow | Street photography, subject isolation |
| Narrow (e.g., f/16) | Deep | Landscape, group shots |
As we conclude this section on aperture settings and their influence on depth of field in photography, it becomes apparent that mastering this aspect requires a balance between technical knowledge and artistic vision. By understanding how different apertures affect the visual outcome of an image, photographers can effectively control focus areas to create captivating compositions.
Moving forward into our next topic about ISO: Balancing light sensitivity and image quality, we delve further into the intricacies of exposure settings in pursuit of achieving optimal results for every photographic situation.
ISO: Balancing light sensitivity and image quality
Exposure Settings: Demystifying Capture Loans in Photography
Shutter speed is a crucial element in photography that allows photographers to capture motion in their images. By adjusting the duration of time the camera’s shutter remains open, photographers can freeze action or create artistic blurs for dynamic effect. For instance, imagine capturing a speeding car on a racetrack. A fast shutter speed like 1/1000th of a second would freeze the car and show every detail, while a slower speed like 1/30th of a second would blur the car’s movement, conveying a sense of speed and energy.
Understanding ISO settings is essential for achieving proper exposure by balancing light sensitivity with image quality. ISO refers to the sensitivity of your camera’s sensor to light. Higher ISO values allow you to shoot in low-light situations without using flash but may introduce noise or graininess into your photos. On the other hand, lower ISO values produce cleaner images but require more available light. Consider this scenario: you are photographing an indoor event where lighting conditions are dimly lit. To avoid using flash and maintain image quality, setting your camera’s ISO at around 1600 might be necessary.
To evoke an emotional response from viewers, let us consider some key aspects related to ISO:
- High ISO settings can add drama and intensity to low-light scenes.
- Low ISO settings can result in crisp and clear images with vibrant colors.
- Balancing ISO properly helps achieve desired aesthetic outcomes.
- Understanding how different cameras handle high ISOs aids decision-making when purchasing equipment.
In addition to understanding shutter speed and ISO settings individually, it is important to grasp how they work together within the broader framework of exposure triangle: aperture, shutter speed, and ISO collectively determine the final outcome of an image’s brightness and sharpness. In our next section, we will explore this concept further as we delve into finding the perfect balance among these three elements.
Table: Pros and Cons of Different ISO Settings
| High ISO | Low ISO |
|---|---|
| Dramatic | Crisp |
| Intense | Clear |
| Grainy | Vibrant colors |
| Challenging | Optimal light |
By understanding the interplay between shutter speed and ISO settings, photographers can attain greater control over their images. The next section will explore how aperture fits into this equation to complete the exposure triangle: finding the perfect balance among these three crucial elements.
Exposure triangle: Finding the perfect balance
Exposure Settings: Demystifying Capture Loans in Photography
Now, let’s delve into another crucial aspect: the exposure triangle. Understanding how aperture, shutter speed, and ISO work together will enable you to find the perfect balance for capturing stunning images.
Imagine a scenario where you are photographing a fast-moving subject such as a race car zooming down the track. To freeze the motion effectively, you would need to use a high shutter speed. However, using a higher shutter speed also means less light entering the camera sensor. In this case, adjusting your aperture wider can help compensate for it by allowing more light through. This example illustrates how manipulating one setting affects others within the exposure triangle.
- Aperture determines the depth of field in your image.
- Shutter speed controls motion blur and freezing action.
- ISO impacts noise levels in your photographs.
- Adjusting any one element necessitates compensating with other settings for proper exposure.
Take a look at this table which summarizes some key characteristics of each exposure setting:
| Exposure Setting | Effect | Example Use Case |
|---|---|---|
| Aperture | Depth of field | Portraits |
| Shutter Speed | Motion control | Sports photography |
| ISO | Noise level | Low-light situations |
Understanding these effects and their applications will allow you to make informed decisions when configuring your camera’s exposure settings. By mastering the interplay between aperture, shutter speed, and ISO sensitivity, you gain greater control over your photographic outcomes.
Now we transition into exploring metering modes—another critical facet of achieving accurate exposures while taking pictures of various subjects and scenes.
Metering modes: Getting accurate exposure
Exposure Settings: Demystifying Capture Loans in Photography
In the previous section, we explored the concept of the exposure triangle and how it helps photographers find the perfect balance between aperture, shutter speed, and ISO. Now, let’s delve into another important aspect of exposure settings – metering modes.
Metering modes play a crucial role in achieving accurate exposure by measuring the light falling on your subject. There are different metering modes available in most cameras, such as evaluative (or matrix), center-weighted average, and spot metering. To understand their significance, consider this scenario:
Imagine you’re photographing a stunning landscape during sunset. The sky is vibrant with hues of orange and purple, while the foreground features intricate details that you want to capture. In this case, using evaluative or matrix metering mode would be ideal. This mode takes into account multiple areas within the frame and calculates an overall exposure value based on various factors like brightness and color distribution.
To further emphasize the importance of metering modes, here is a breakdown of their characteristics:
-
Evaluative (Matrix) Metering:
- Takes into account various parts of the scene for overall exposure calculation.
- Suitable for general shooting situations where no particular area needs special attention.
-
Center-Weighted Average Metering:
- Gives more weight to the central part of the frame when determining exposure.
- Useful when you want accurate readings from a specific subject or object at the center.
-
Spot Metering:
- Measures only a small portion (typically around 2-5%) of the frame for precise exposure determination.
- Ideal for situations where there is significant contrast between subjects or when capturing backlit scenes.
By understanding these different metering modes and selecting the appropriate one based on your shooting conditions, you can ensure better control over your exposures and achieve desired results consistently.
In summary, mastering exposure settings involves not only understanding the exposure triangle but also familiarizing yourself with various metering modes. Each mode offers unique characteristics that cater to different shooting scenarios, allowing you to capture well-exposed images in a variety of situations. So, experiment with these settings and find what works best for your photography style and subject matter.
Table: Metering Modes Comparison
| Metering Mode | Characteristics |
|---|---|
| Evaluative (Matrix) | – Takes into account multiple areas within the frame.- Calculates overall exposure value. |
| Center-Weighted Average | – Gives more weight to central part of the frame.- Useful when focusing on specific subjects. |
| Spot | – Measures only a small portion of the frame.- Ideal for capturing scenes with high contrast. |
So, remember to explore and utilize the appropriate metering mode based on your photographic intent, as it can greatly enhance your ability to achieve accurate exposures in diverse shooting conditions.
Comments are closed.